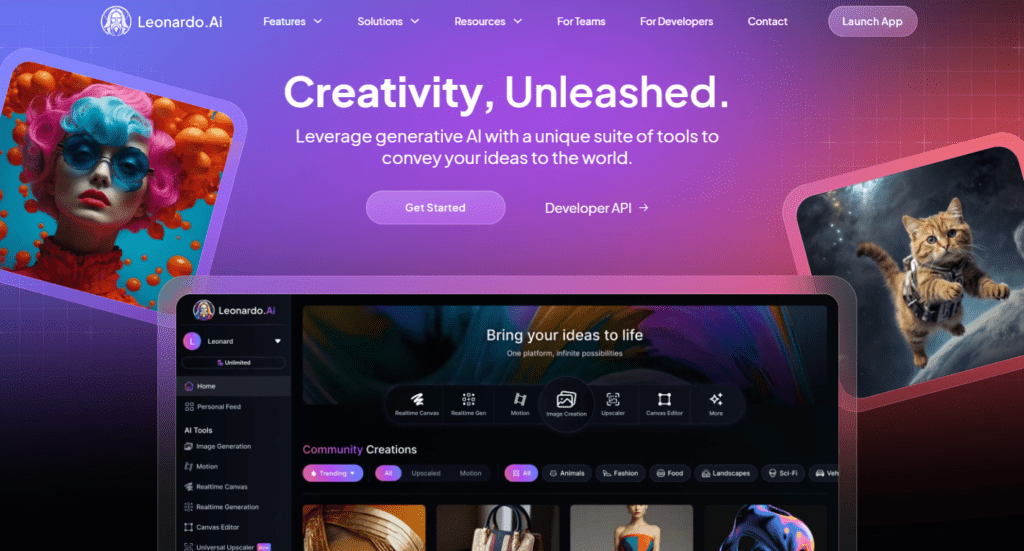
Did you hear about Leonardo Ai? If not, then this is a heaven to learn about Leonardo Ai. This world is being crazy day by day and inventing new things in technology. Leonardo Ai is a greater invention in Ai after introducing the Mid Journey. A lot of people can’t use Mid Journey because it’s paid and the free version is limited. Leonardo Ai replaced the Mid Journey just, Because it’s easy to use, has more features, and is more realistic than Mid Journey. After taking a sneak peek, you can generate powerful images with Leonardo Ai. This guide will show you step-by-step how you can create impressive and stunning images using Leonardo AI. So let’s get started and learn how to get the maximum benefit of this tool.
1. What is Leonardo AI?
Leonardo AI is an advanced AI-driven image generation tool. This tool creates high-quality and creative images using AI technology. Its key features are:
- Intuitive Prompting: Image generation through easy and creative prompts.
- Design Flexibility: Various design styles and customization options.
- AI-Powered Creation: High-quality images with advanced AI algorithms.
2. Creating an Account
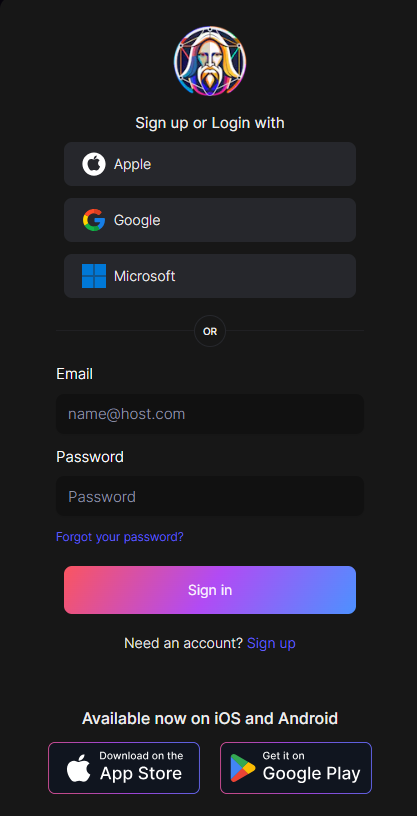
To get started with Leonardo, you will first have to create an account. Follow these steps:
- Step 1: Visit the official website of Leonardo AI.
- Step 2: Click on Sign Up or Create an Account.
- Step 3: Enter your details (email, password, or sign up with Google/Facebook).
- Step 4: After receiving the verification email, confirm your account and log in.
3. Plans and Pricing
Leonardo offers free and paid plans. It is important to understand:
- Free Plan: The free plan has limited image generation and watermarks.
- Paid Plans: Higher resolution images, more customization options, and extra features are available.
- Trial Periods and Guarantees: Some paid plans have trial periods or money-back guarantees available.
- Which Plan to Choose?: The free plan is ideal for hobbyists, but professionals should consider paid plans for advanced features.

4. Navigating the Interface
It is also important to understand Leonardo’s interface:
- Step 1: After logging in, explore the dashboard.
- Step 2: Image Generation or Create Design section below.
- Step 3: Check Image resizing, prompt input, and customization tools.
5. Generating an Image
Generating images is simple. Follow these steps:
- Step 1: Click on the Generate Image button.
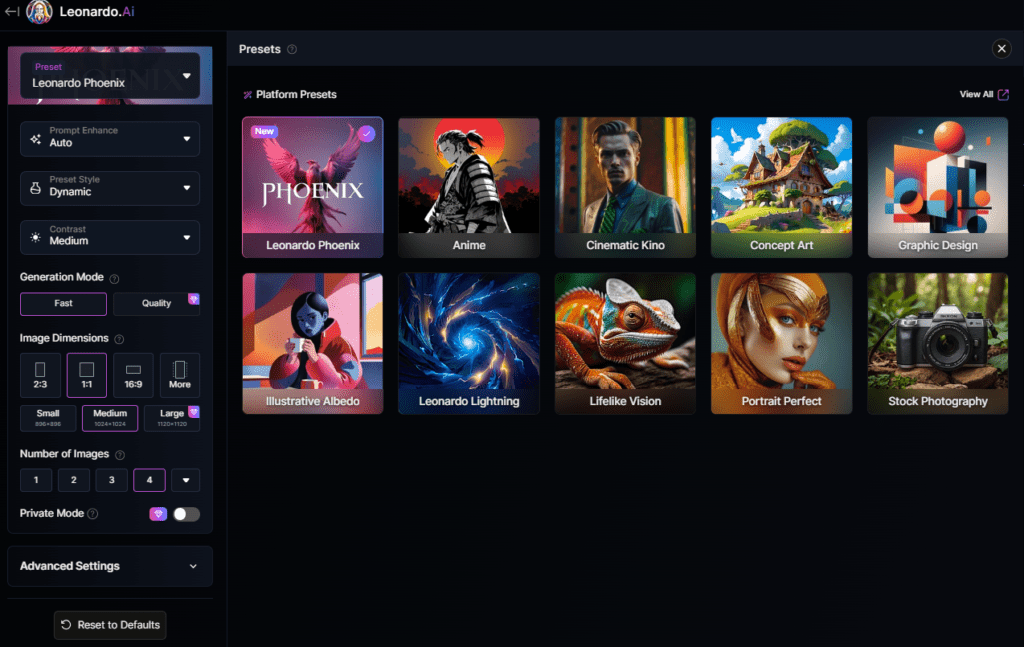
- Step 2: Choose Image Size:
- Different resolutions are available (e.g., 1024×1024, custom sizes).
- Large sizes are used for high-quality images and small sizes are used for quick previews.
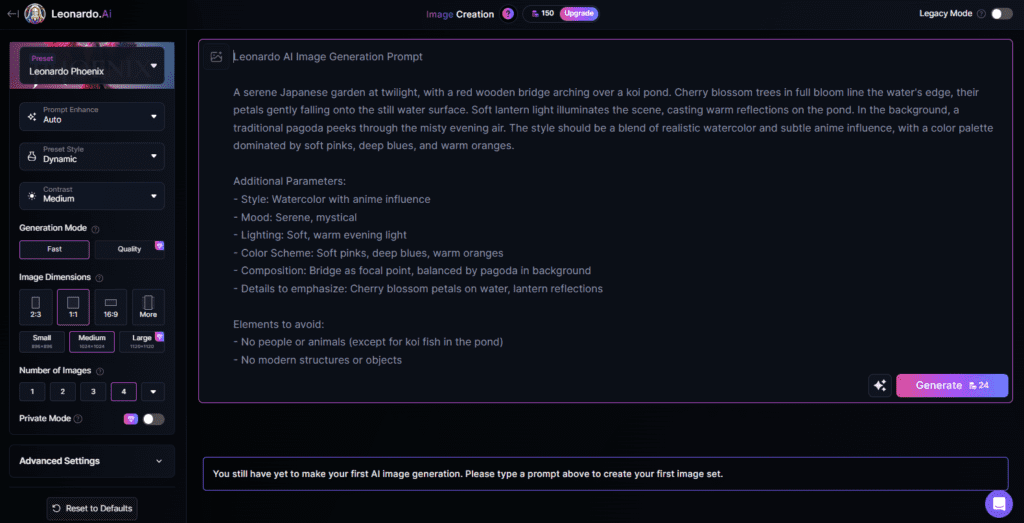
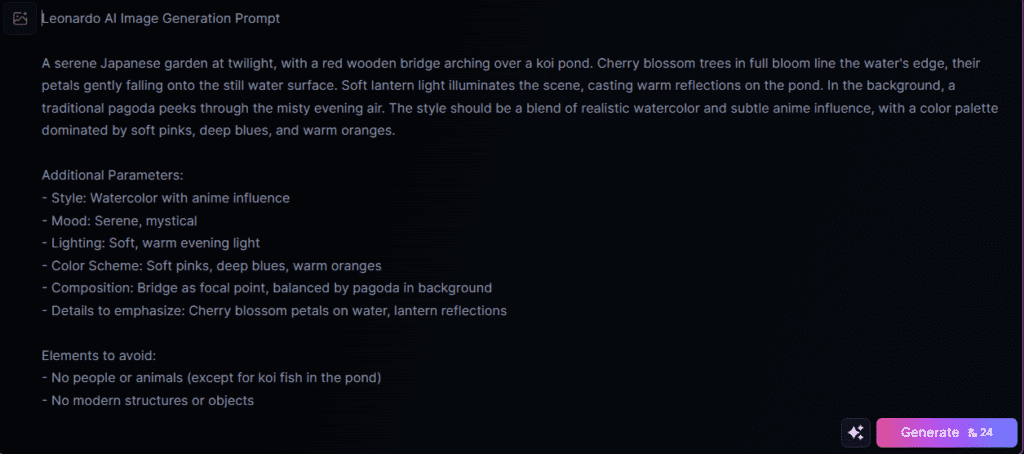
- Step 3: Input the Prompt:
- It is important to write creative and detailed prompts for better results.
- Experiment with keywords and prompt enhancements for improved outputs.
6. Understanding AI Prompts
These prompts are critical to understand:
- Prompt Engineering: For good results precise prompts have to be created.
- Effective Prompts: Detailed and specific prompts generate more accurate images.
- Common Structures: It is important to understand the effects of common prompt structures.
- Examples: Good prompts (e.g., “A beautiful sunset over the mountains”) vs ineffective ones (e.g., “Sunset”).
7. Fine-Tuning the Image
Refining the image is also important:
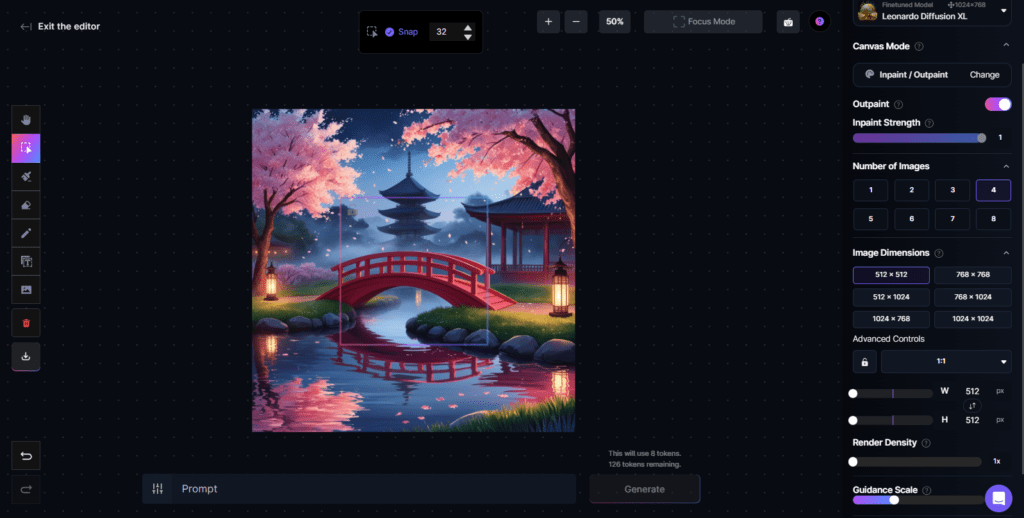
- Step 1: Adjust color, contrast, and brightness using the Adjustments Panel. AI filters can also be applied.
- Step 2: Add Extra Layers or Elements (e.g., textures, shadows).
- Step 3: Experiment with AI-powered styles (e.g., realism, abstract).
8. Downloading the Image
Image downloading process:
- Step 1: Click on the Download button to download the image.
- Step 2: Choose Preferred Format (e.g., PNG, JPG).
- Step 3: Select resolution (higher resolution for print, lower for social media).

9. Saving and Organizing Your Creations
It’s also important to organize your creations:
- Saving: Save images on the Leonardo AI platform.
- Collections/Folders: Create and manage Collections or folders.
- Tagging and Searching: It is easy to tag and search your images.
- Organization Tips: Efficiently organize your artwork for easy access.
10. Extra Tips for Powerful Images
Tips to create powerful images:
- Tip 1: Use precise and vivid prompts for accurate results.
- Tip 2: Test different styles and filters for varied effects (e.g., vintage, modern).
- Tip 3: Create multiple options by re-running the same prompt with some variations.
Best Practices:
- Portraits: Focus on eyes and expressions to generate realistic or stylized human faces.
- Landscapes: Lighting and mood are important to create stunning natural or fantastical scenes.
- Product Images: Techniques to generate clear and attractive product visuals.
- Abstract Art: Unique approaches to creating abstract pieces because Experimentation is the key!
Conclusion
By using Leonardo AI you can make your image generation process very easy and efficient. Experiment and push your creativity with the help of AI. This tool will help you in creating stunning and professional-quality images, whether you are a beginner or a professional.
Additional Resources
Find some more about Ai Tools and Technology.




Pingback: Tips For ChatGPT For Business Automation - WP Pine
Pingback: Introducing DeepSeek: The Next-Gen LLM Revolutionizing AI
Pingback: How AI Influencers Are Game-Changing - WP Pine